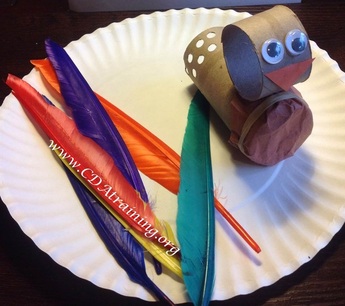
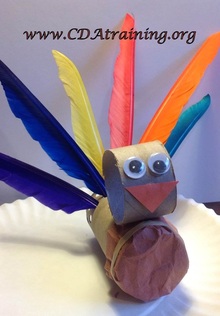
Supplies Needed; Toilet paper roll, Wiggly eyes, Scissors, Long feathers, Rubber Band, Glue, Square piece of brown construction paper (crumpled to soften the texture), Small scrap orange construction paper cut into a triangle, and a Hole punch
Directions; Evenly cut a 3" round off of the toilet paper roll, this will serve as the head and the larger remaining piece will serve as the body. Take your piece of brown 4"x4" square construction paper and use it to cover one end of the body piece affix it with a rubber band, this will be your turkey's chest. Glue the head piece to the edge of the body just above the chest (as shown in the images above). Using your hole punch, create as many holes as desired in the back of the body piece. Now cut a triangle from your orange construction paper, this will serve as your beak. Finally, glue on your beak and eyes. Instructions; We glued the turkey to a paper plate, to prevent it from falling over. Allow children to place the feathers into the holes/   Supplies Needed; Clear Rubber Glove (be conscientious of latex allergies and use only non-powder coated), Fruit Loops, mini marshmallows, yellow construction paper, red construction paper, orange construction paper, two wiggly eyes, glue, scissors, and a rubber band. Directions; Fill fingers of the glove with colored fruit loops. Fill the rest of the glove with mini marshmallows. Tie off the bottom of the glove with the rubber band, and cut off any excess glove. Cut out feet from the orange construction paper, a beak from the yellow construction paper, and a gobbler from the red construction paper (see below). Glue on eyes, gobbler, beak and feet. Allow to dry. 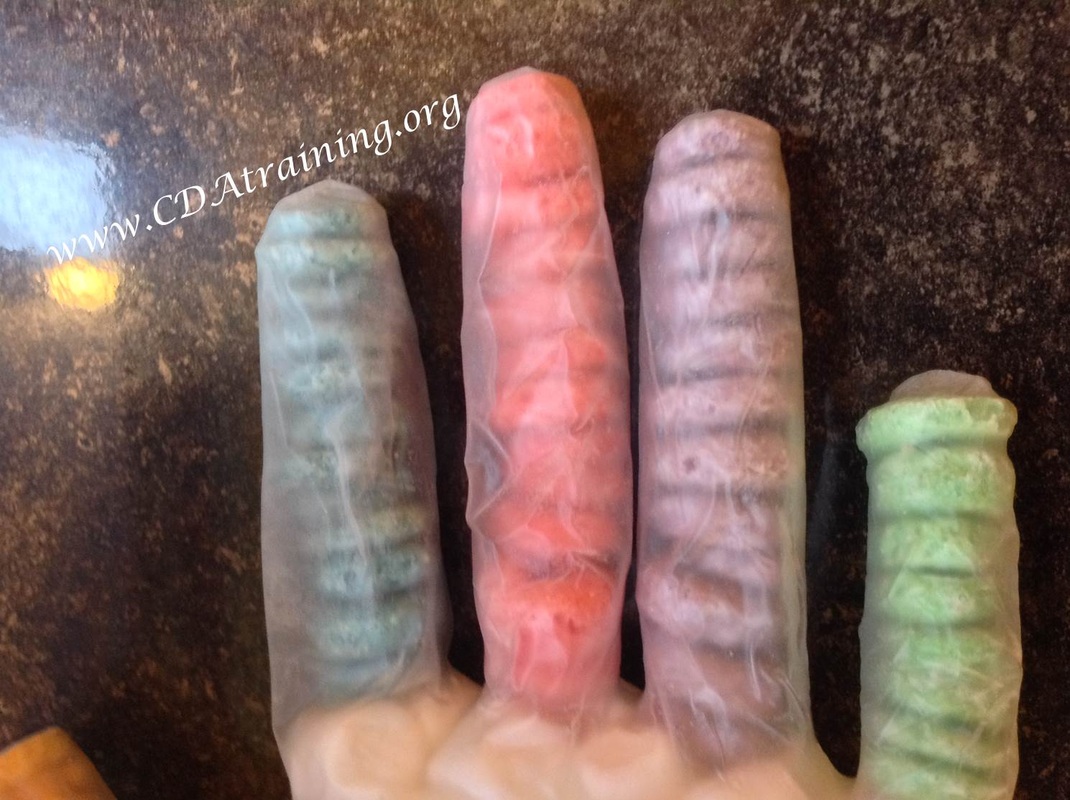 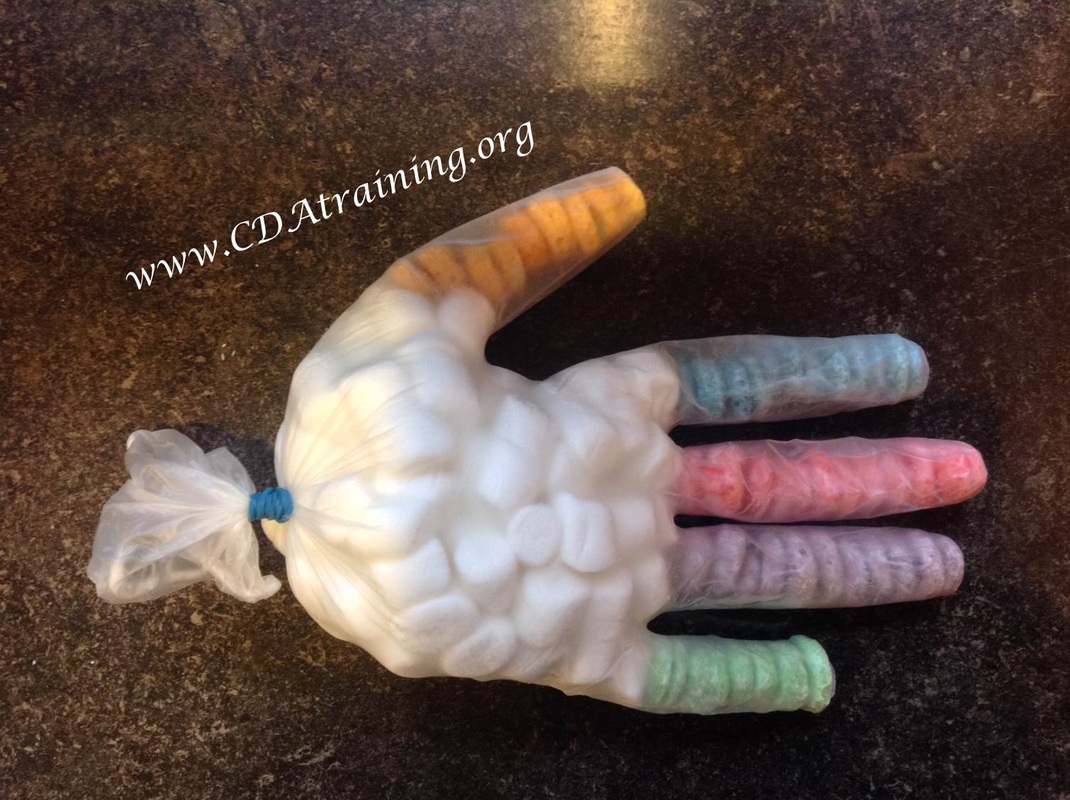 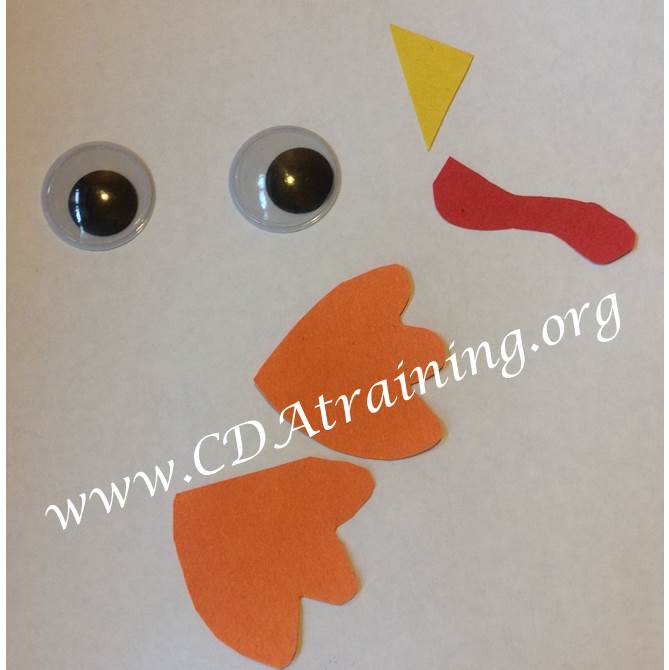 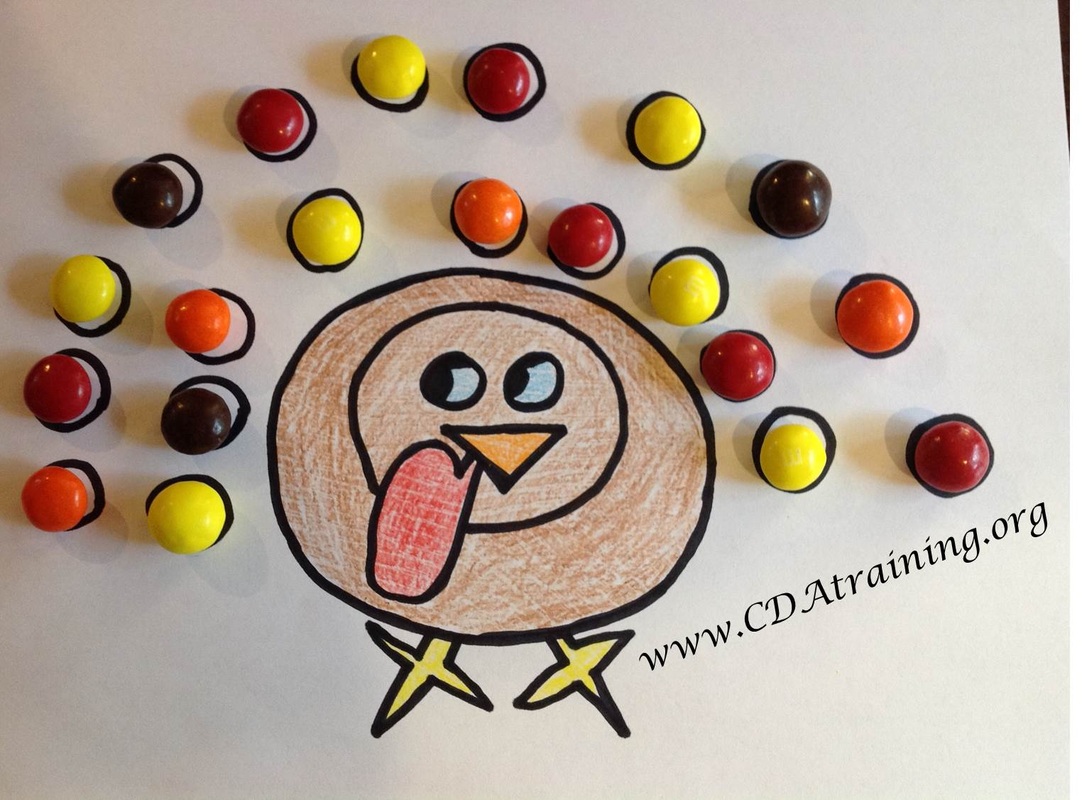 Supplies Needed; Turkey print out (see below), crayons or markers, and 20 fall colored candies. For our candies we used peanut butter m&m's, but you can easily substitute for candy corn, skittles, gummy bears, raisins or even grapes. Instructions; Have children color turkey as desired. give them 20 candies and instruct them to place them in the circles (as shown below). For older children, you can ask them to create specific patterns or to add/subtract candies as a math integration activity.  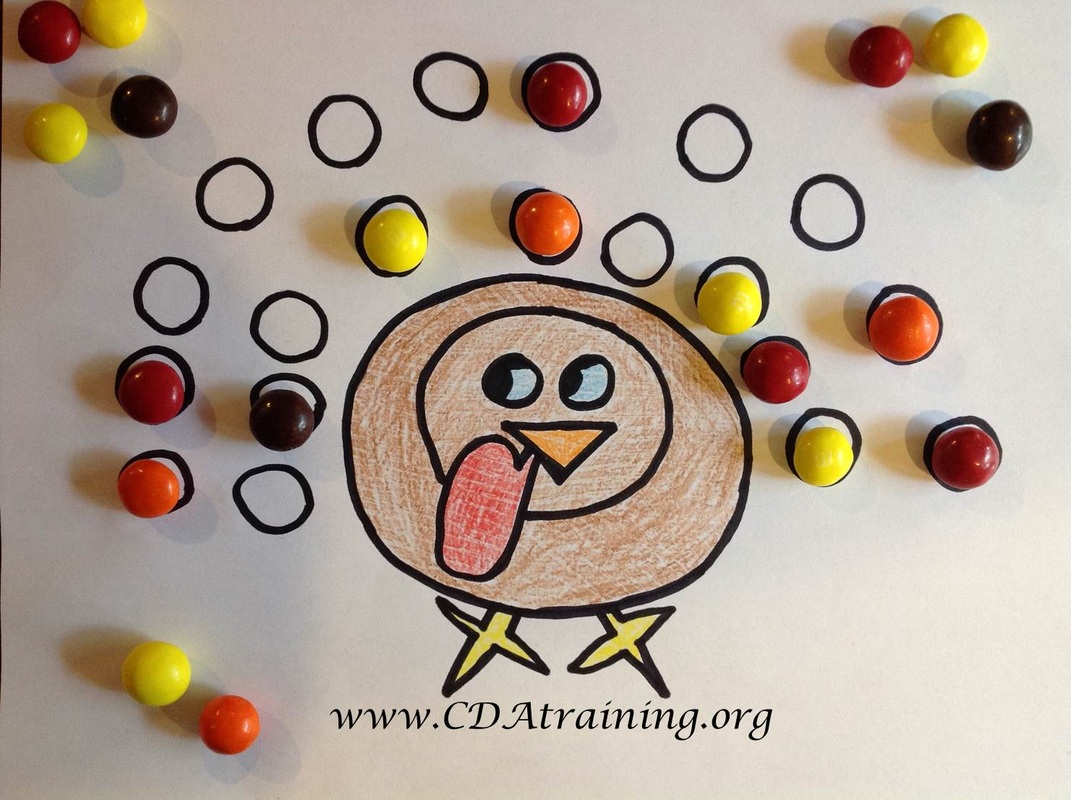 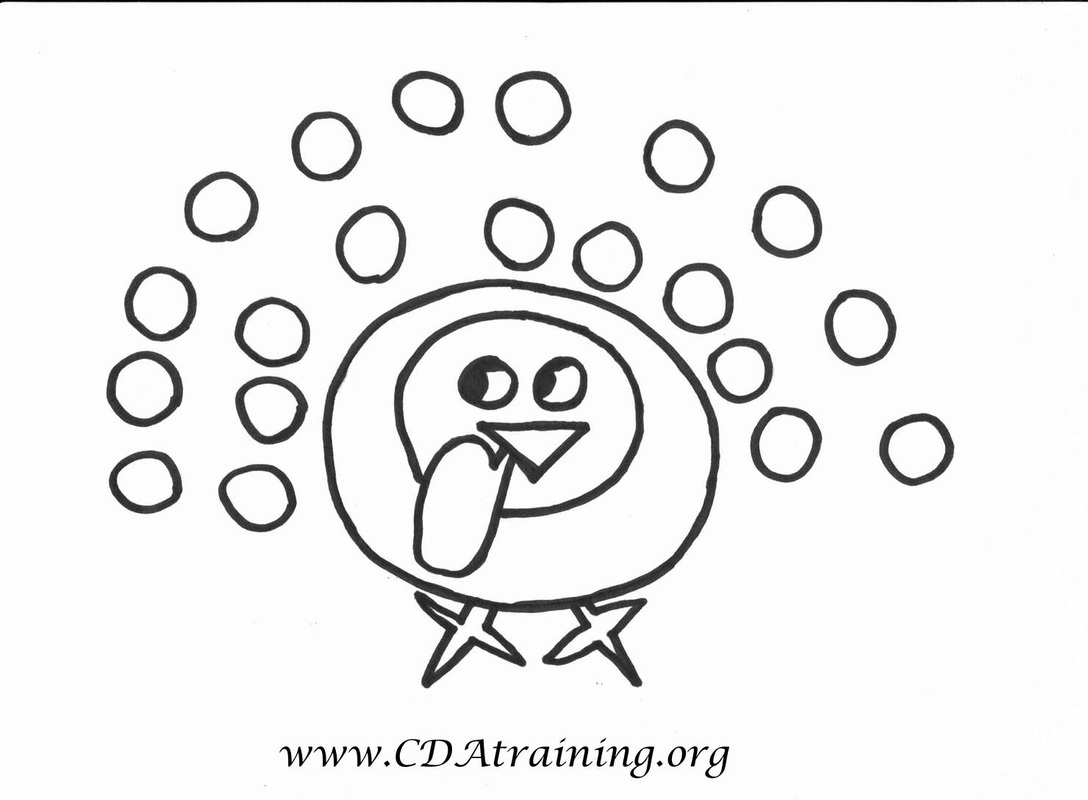  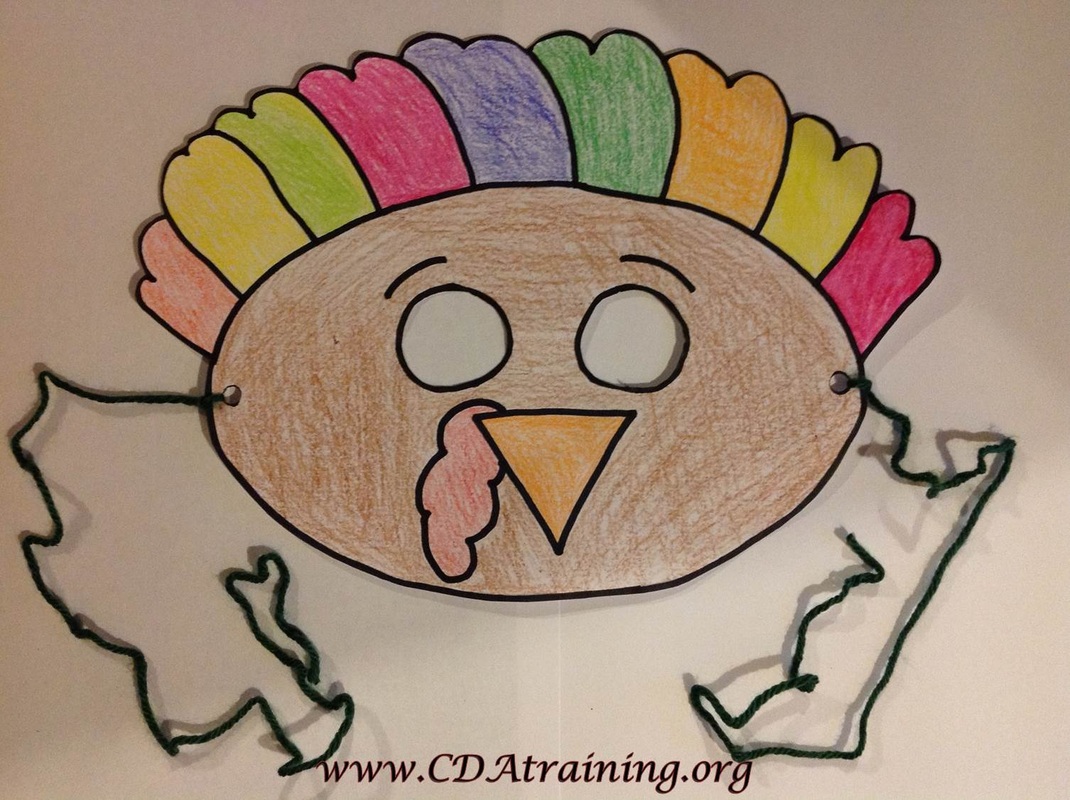 Supplies Needed; Print out of mask (below), crayons or markers, hole punch, about 10-12" of yarn and scissors. Directions; Have children color the mask as they desire. Once finished, assist them in cutting out the eye holes, and assist them in using the hole punch to create holes in the side of the mask (over the black dots). Tie 5-6" of yarn to each hole punch. position the mask on the child's face, and tie the yarn behind their head. 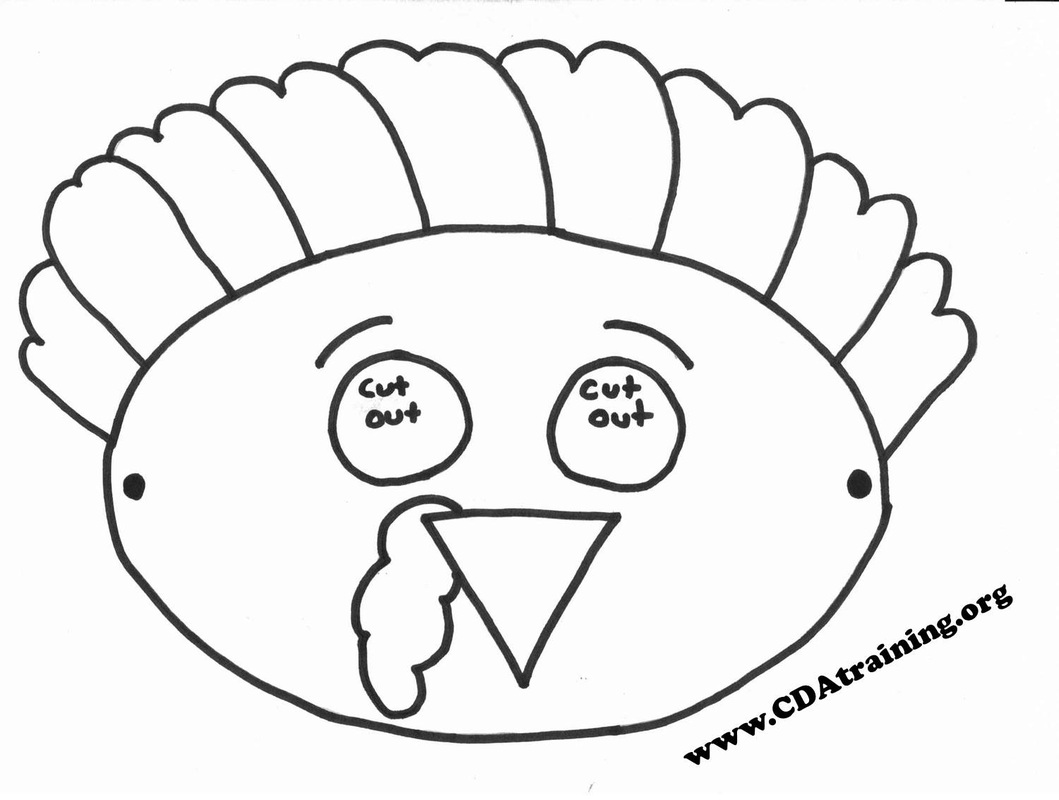 Read: “Mixed Blessing; A Children’s Book About a Multi-Racial Family” by Marsha Cosman and Kyra Kendall 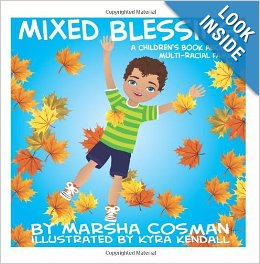 We have created two versions of this rhyme, to illustrate different types of families, Please feel free to edit the poem to suit your students needs. 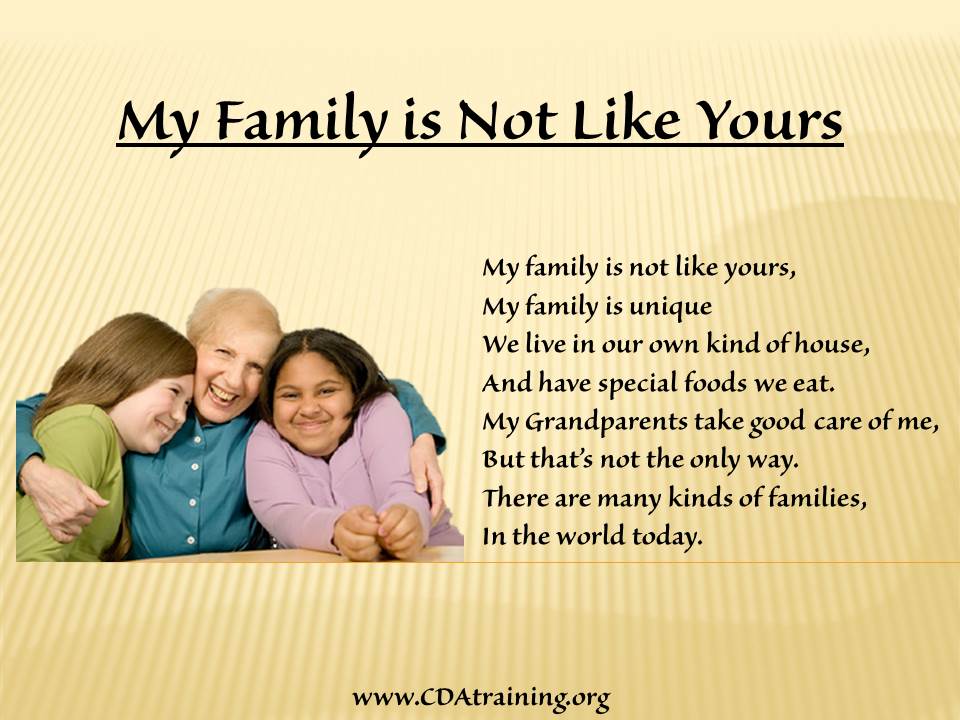   Materials needed: construction paper, paint, scissors, glue, small picture of the child. Directions: Have the children make a hand print on a piece of construction paper. Write the title at the top saying, "NAME’s Family” Cut out feathers. Have the children write the name of each person in their family on a feather and glue to the hand. Glue the child’s picture to the thumb (head of the hand turkey).  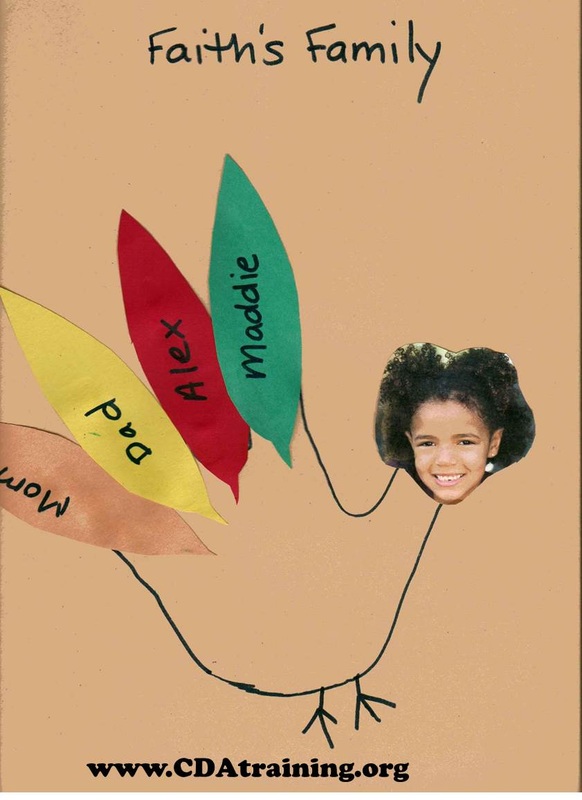 Read: “Grateful” A Song of Giving Thanks” by John Bucchino and Anna-Lisa Hakkarainen. 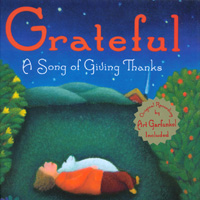   Materials needed: a jar, rick-rack, stickers etc., glue, scissors, Chocolate kisses.
Directions: Give each of the children a jar, glue and scissors and decorations. Let them decorate their thankful jar. Send instructions home about how to use the Thankful Jar. Instrctions: Each day have your child name something they are thankful for, and place a chocolate kiss in the jar. Celebrate by eating the thankful kisses on Thanksgiving. Spelling stones are a fun Thanksgiving craft and spelling activity rolled into one. Create a challenge by asking “How many words can we make with the word Thanksgiving?” and use your child’s natural competitiveness as fuel for learning. The stones are a great way to teach letters, and also show children how to interchange letters in a word to create other words.  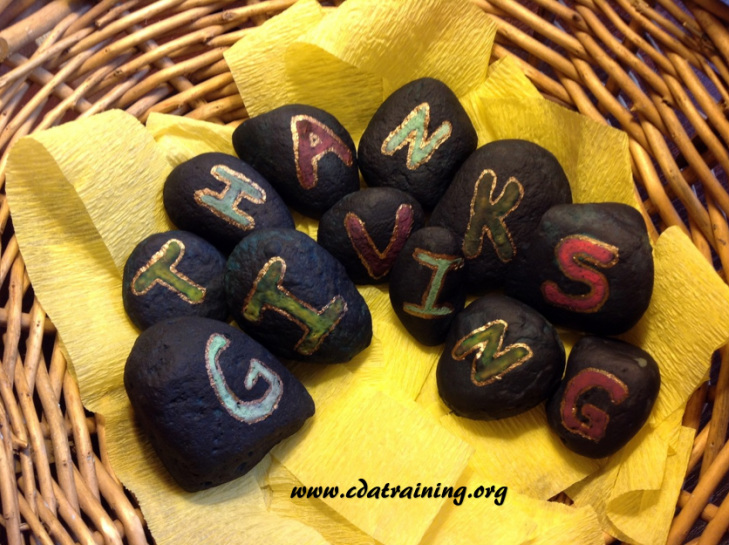 Supplies; stones (dollar store, or foraged stones) , temper paint , a paint brush, paper, and pencil. Directions; If you use foraged stones, you might need to paint them a solid color. Start by writing out thanksgiving on the stones. We used all uppercase letters so they would be easier to read. We used several layers of temper paint to turn our stones black. These paints are washable so the kids could help, and it was ok if it got on their clothes. Once our primary paint dried, we painted on the letters. We used different colors, and outlined them with a gold art pen. Once dry, lay out the stones on a flat surface. Explain the challenge to the children. How many words can they make with the letters? 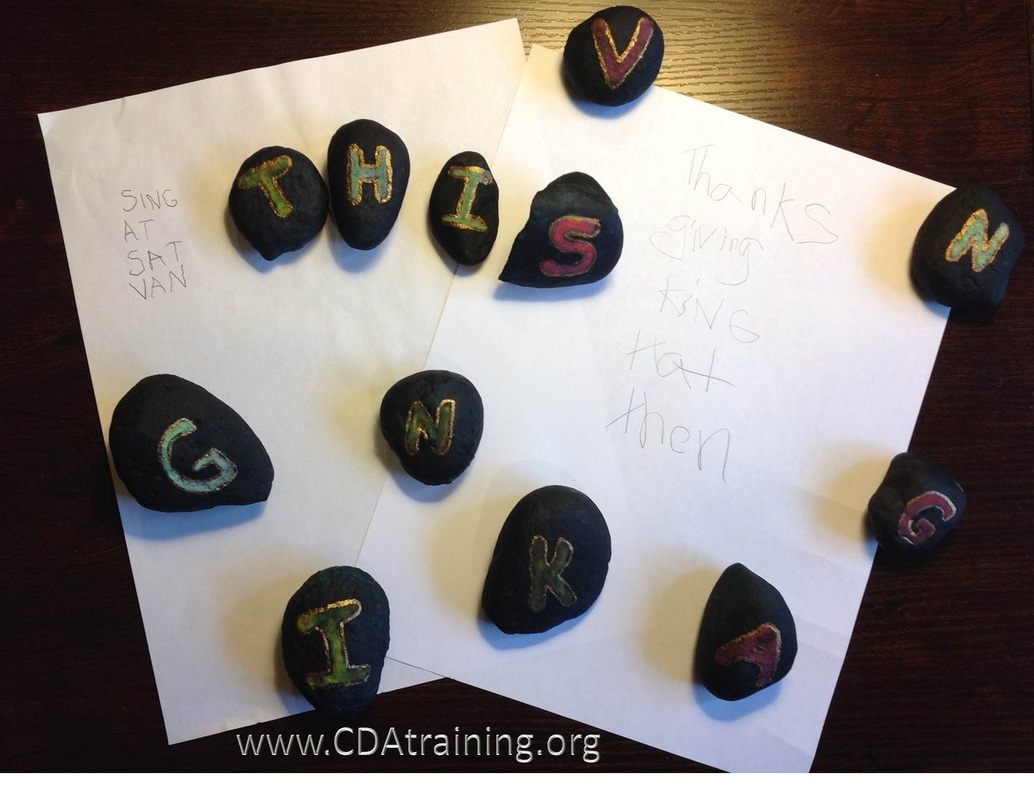 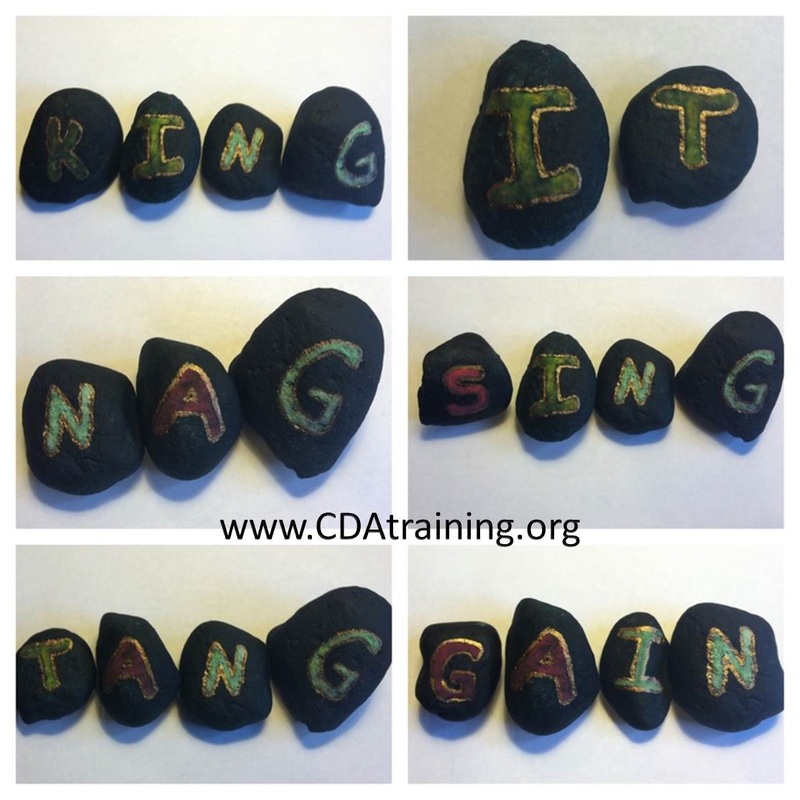 Read: “Thanks for Thanksgiving” Julie Markes and Doris Barrette. Thanksgiving is a time to be thankful for small things, and family togetherness. 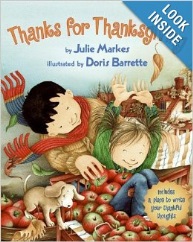 Activity: In circle time get out a large piece of paper and post it for the children to see. Explain what it means to be thankful, and have the children tell you what they are thankful for. Write their ideas on the posted paper. When finished, teach children the rhyme posted below.  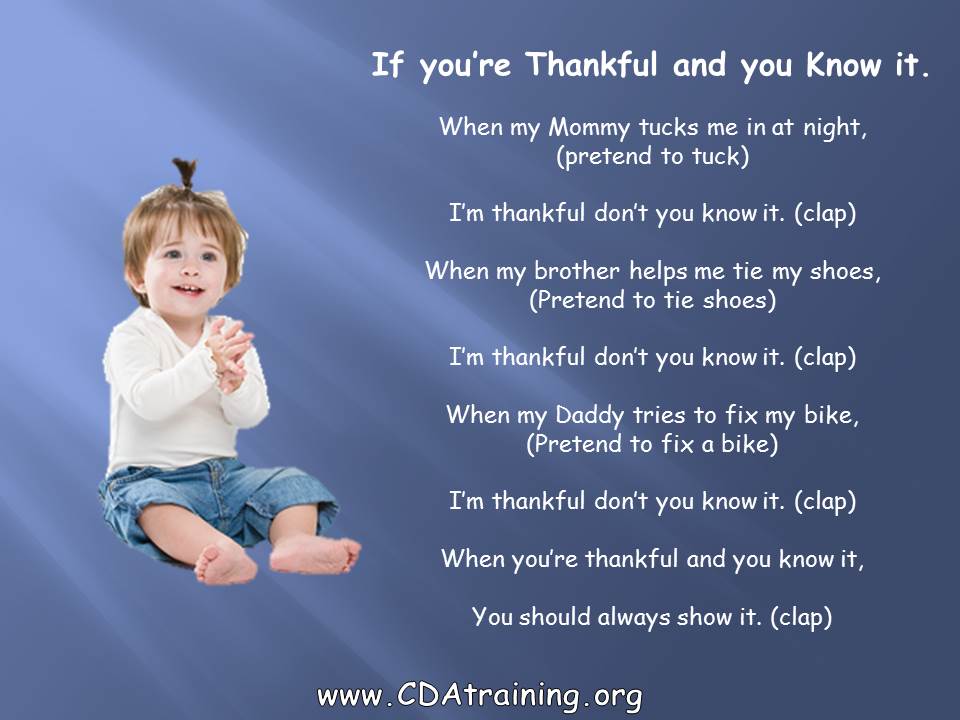 Materials needed: Construction paper, 3 sheets of white paper, crayons, magazines or pictures, glue, scissors, picture of the child. Directions: Instruct the children to paste their photo to the cover of the "I'm Thankful For" book. Let the children decorate their thankful book with pictures of things that they are thankful for.  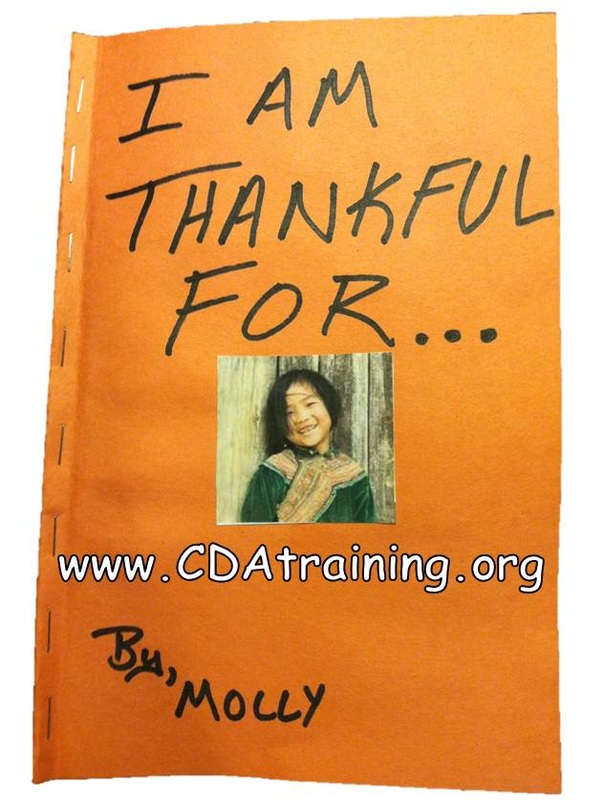 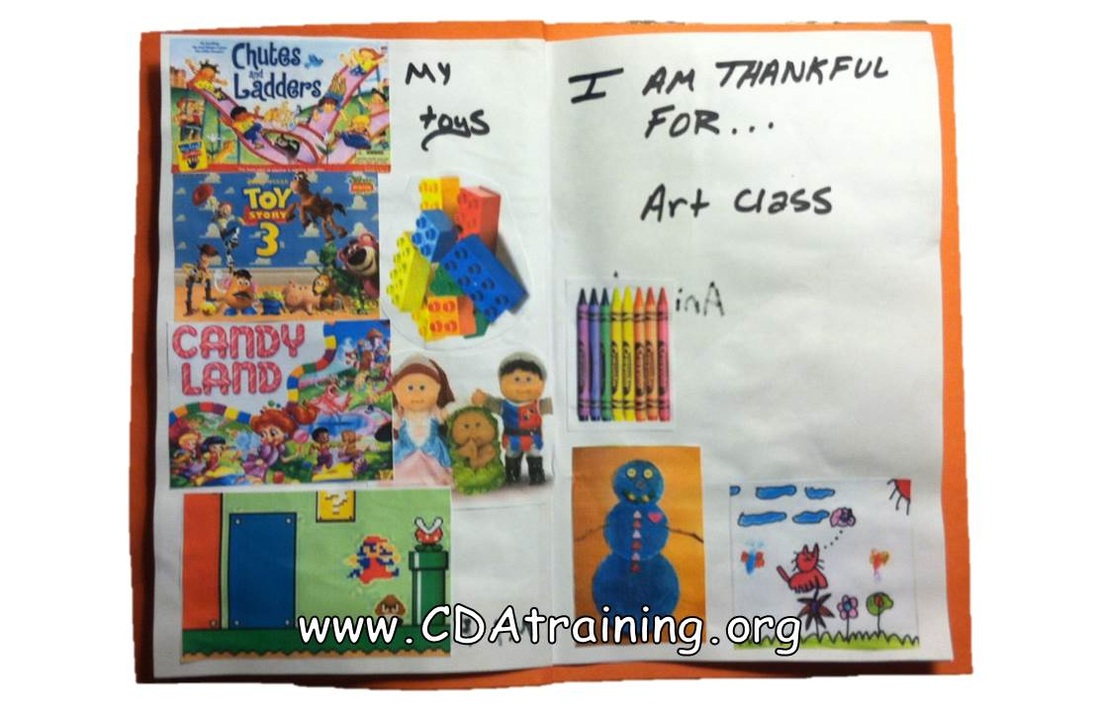 Read: “Just So Thankful” by Mercer Mayer. Little Critter meets a new kid in town who has gadgets and toys that cost a lot of money, and he will never have. But he discovers that he has something better, things that money cannot buy, his family. 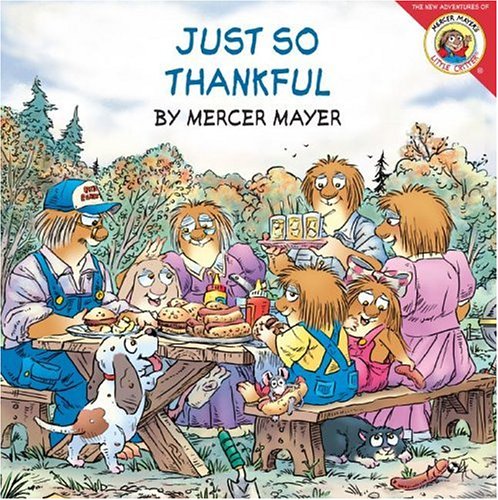 Rhyme: Help children recite this rhyme.   Materials needed: Small mason jar, construction paper, glue, wiggly eyes, markers, scissors and something to fill the jar (see below). Directions: Cut out several feather shapes, a small triangle for the beak, and an oval shape for the "gobbler". Instructions: Have child write what they are thankful for on a feather, attach the wiggly eyes and beak shape. Help children attach each feather and discuss what they are thankful and attach them to the jar. We filled our jars with pom poms, other ideas for fillers are M&Ms, tissue paper, raffia, or colored fabric.  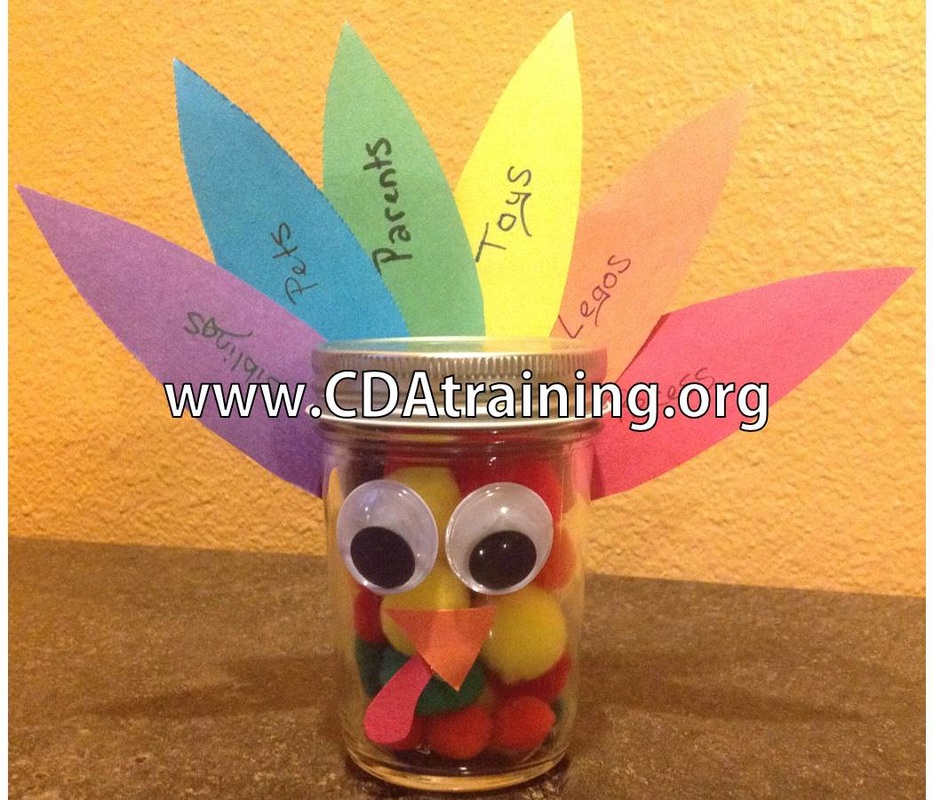 Read: “I’m Thankful Each Day” by Hallinan and P.K., This book combines both English and Spanish for educators and second language speakers. Every day there is something new to be thankful for. 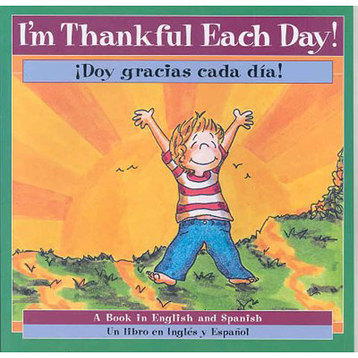 Have the children act as Turkeys as you recite this rhyme.  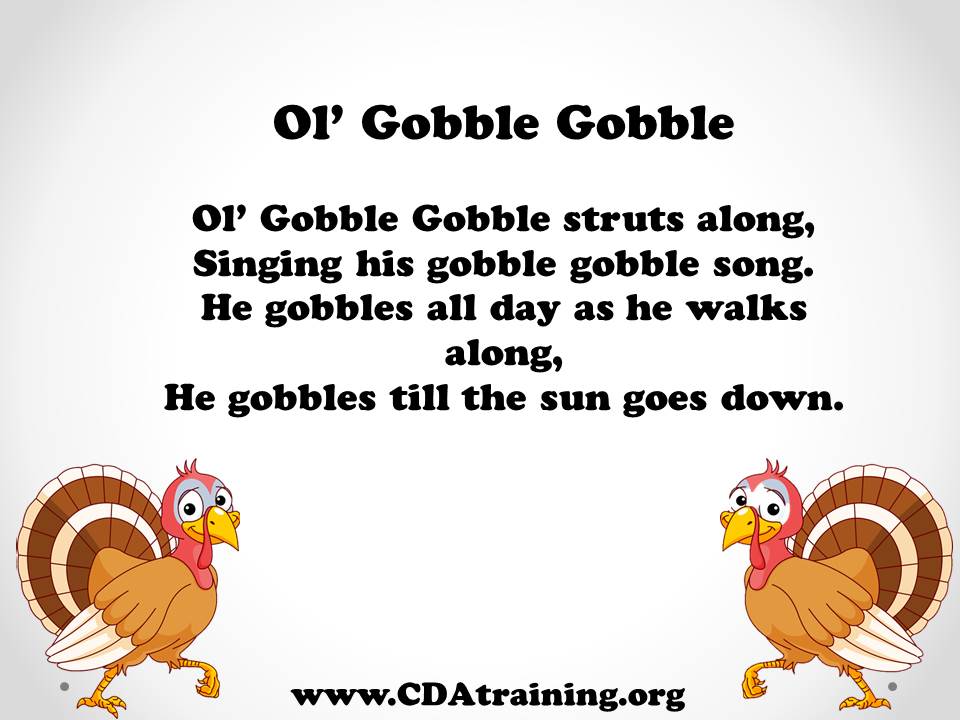  Thankful Calendar Project 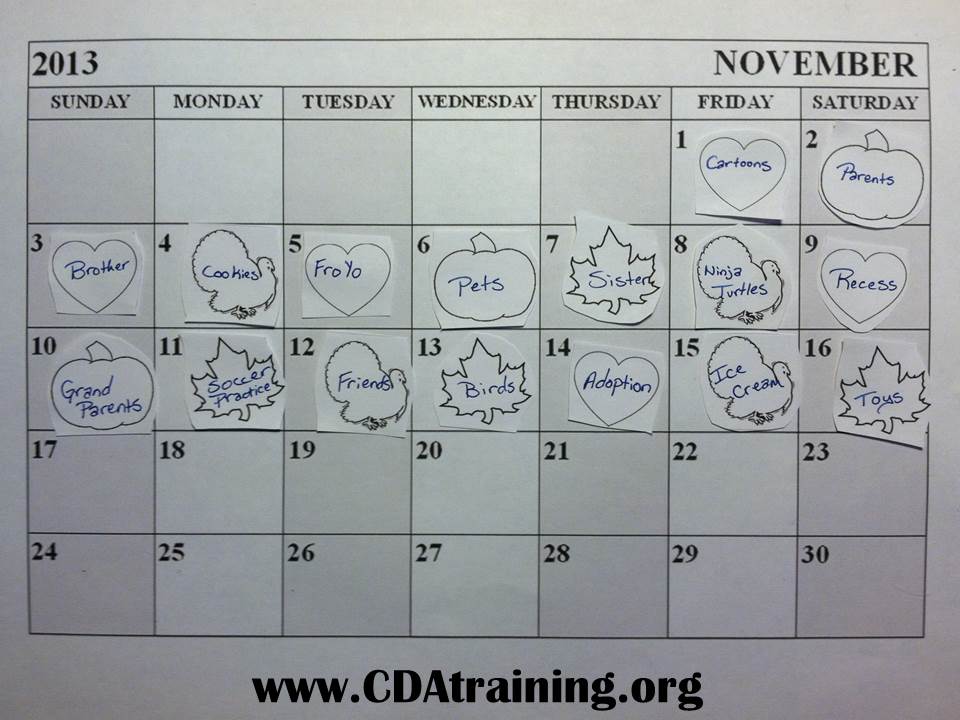 Materials needed: Construction paper, marker, scissors, tape or ticky tac. Directions: Print off a copy of the calendar posted below, you can use the stencils provided, or create your own. Instructions: After reading the story, ask the children what they are thankful for. Write it on the shape and put it on the calendar for each day. By the end of the month the calendar will be filled with things the children are thankful for. Read each one every day until Thanksgiving. Extension: Cut out or use a picture of a cornucopia for each child. Cut out vegetable or fruit shapes and let each child write something they are thankful for each day. Then send their picture home with the children for Thanksgiving to share with their families. 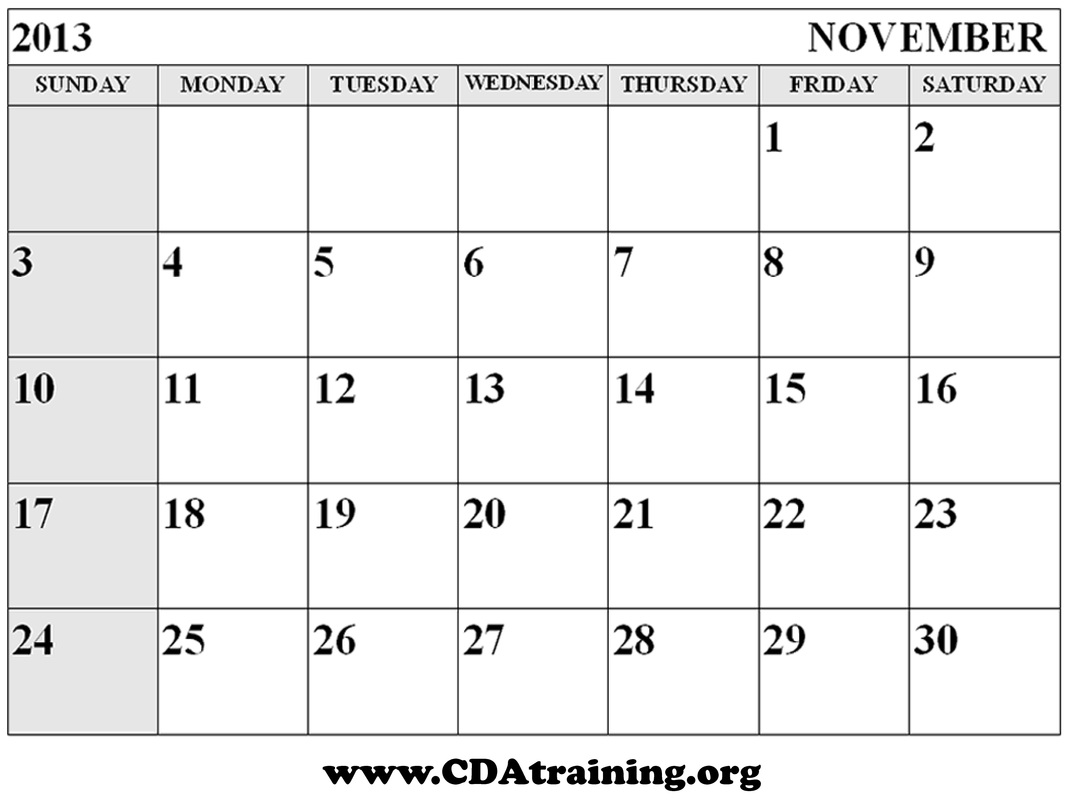 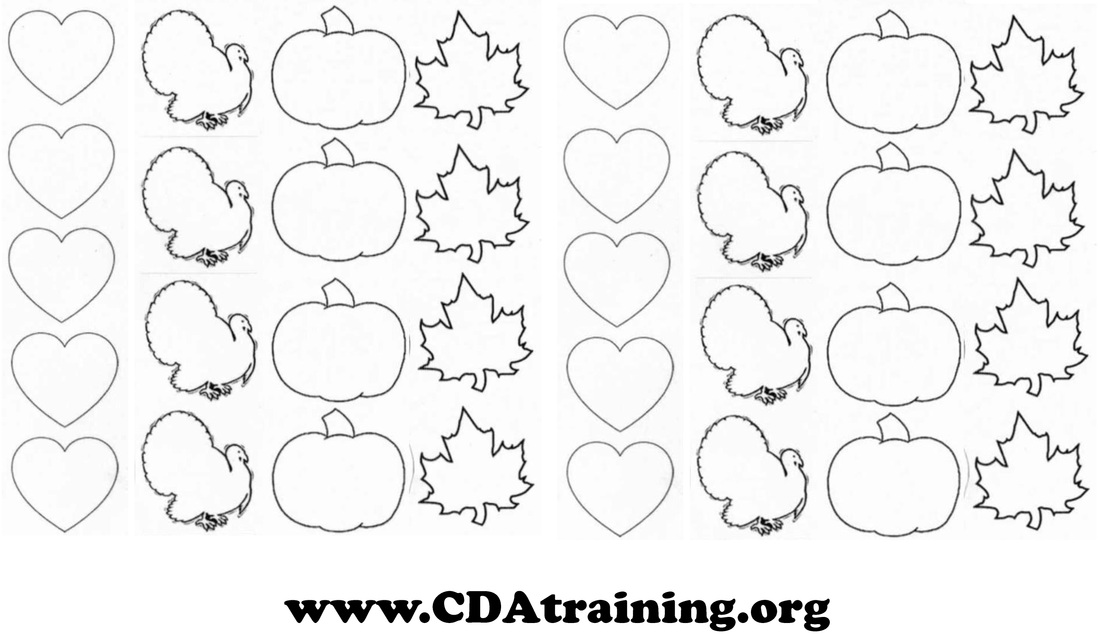 |
ThanksgivingArchives
November 2014
Categories
All
|

 RSS Feed
We have provided links where books or educational items that are related to the lesson plan can be purchased on Amazon. These links are intended for the purpose of your convenience to find the referenced item. However, as an Amazon Associate we earn from qualifying purchases that result from clicking on the links.
This website is owned and managed by Successful Solutions Professional Development LLC. Links to online courses that can be purchased are services that are provided by Successful Solutions Training in Child Development, which is a subsidiary of Successful Solutions Professional Development LLC.
This website is owned and managed by Successful Solutions Professional Development LLC. Links to online courses that can be purchased are services that are provided by Successful Solutions Training in Child Development, which is a subsidiary of Successful Solutions Professional Development LLC.
We offer the most comprehensive student support available in a web based learning environment.
E-mail: info@myececlass.com
Phone: (360) 602-0960
Phone: (360) 602-0960
123 Play-and-Learn! Child Care Basics Resources
A child care curriculum blog brought to you by Successful Solutions Training in Child Development.
A child care curriculum blog brought to you by Successful Solutions Training in Child Development.
Address: PO Box 727, Burley, WA 98322-0727 * www.123playandlearn.com
Copyright 2018. Successful Solutions Professional Development LLC. * All Rights Reserved. Updated June 27, 2018
Copyright 2018. Successful Solutions Professional Development LLC. * All Rights Reserved. Updated June 27, 2018

Child Care Courses